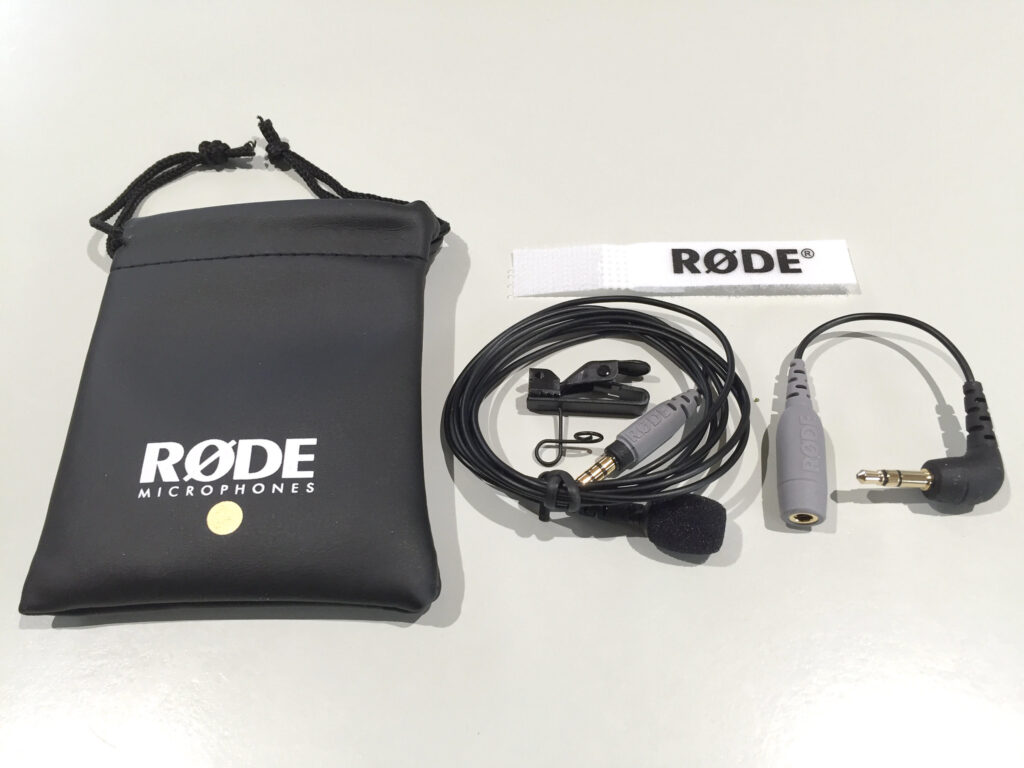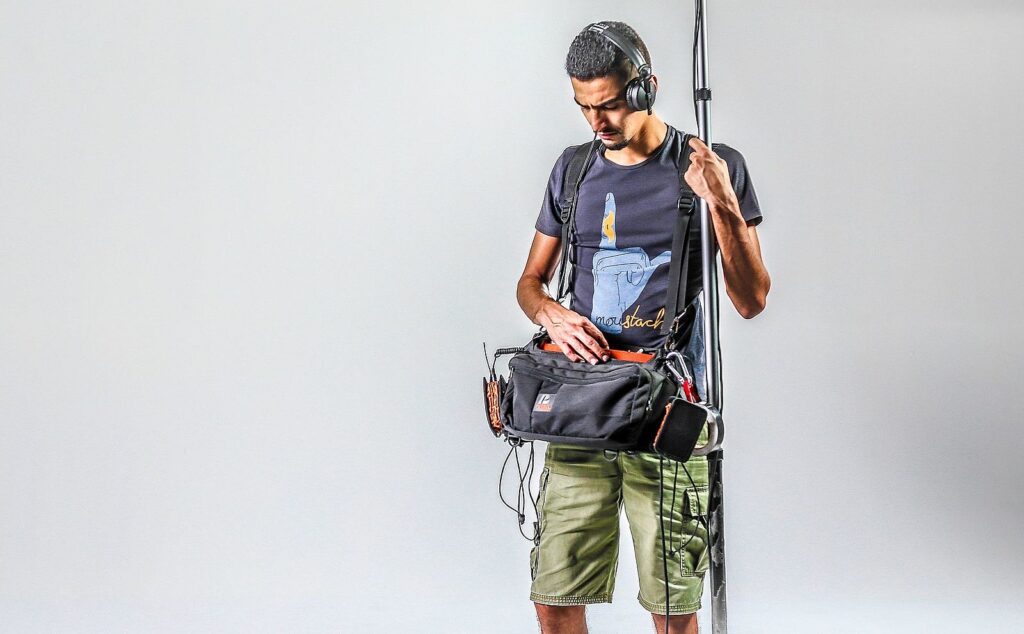


Get Started with the Right Equipment
To enhance the production value of your videos, consider investing in reliable audio and video equipment. While equipment doesn’t have to be expensive, using the right tools can significantly improve the overall quality of your video projects.