


Techniques for High-Quality Audio
Getting great audio is all about attention to detail, creating a quiet environment, and performing multiple takes when necessary. Below are more helpful tips on creating professional sounding interviews.
Getting great audio is all about attention to detail, creating a quiet environment, and performing multiple takes when necessary. Below are more helpful tips on creating professional sounding interviews.
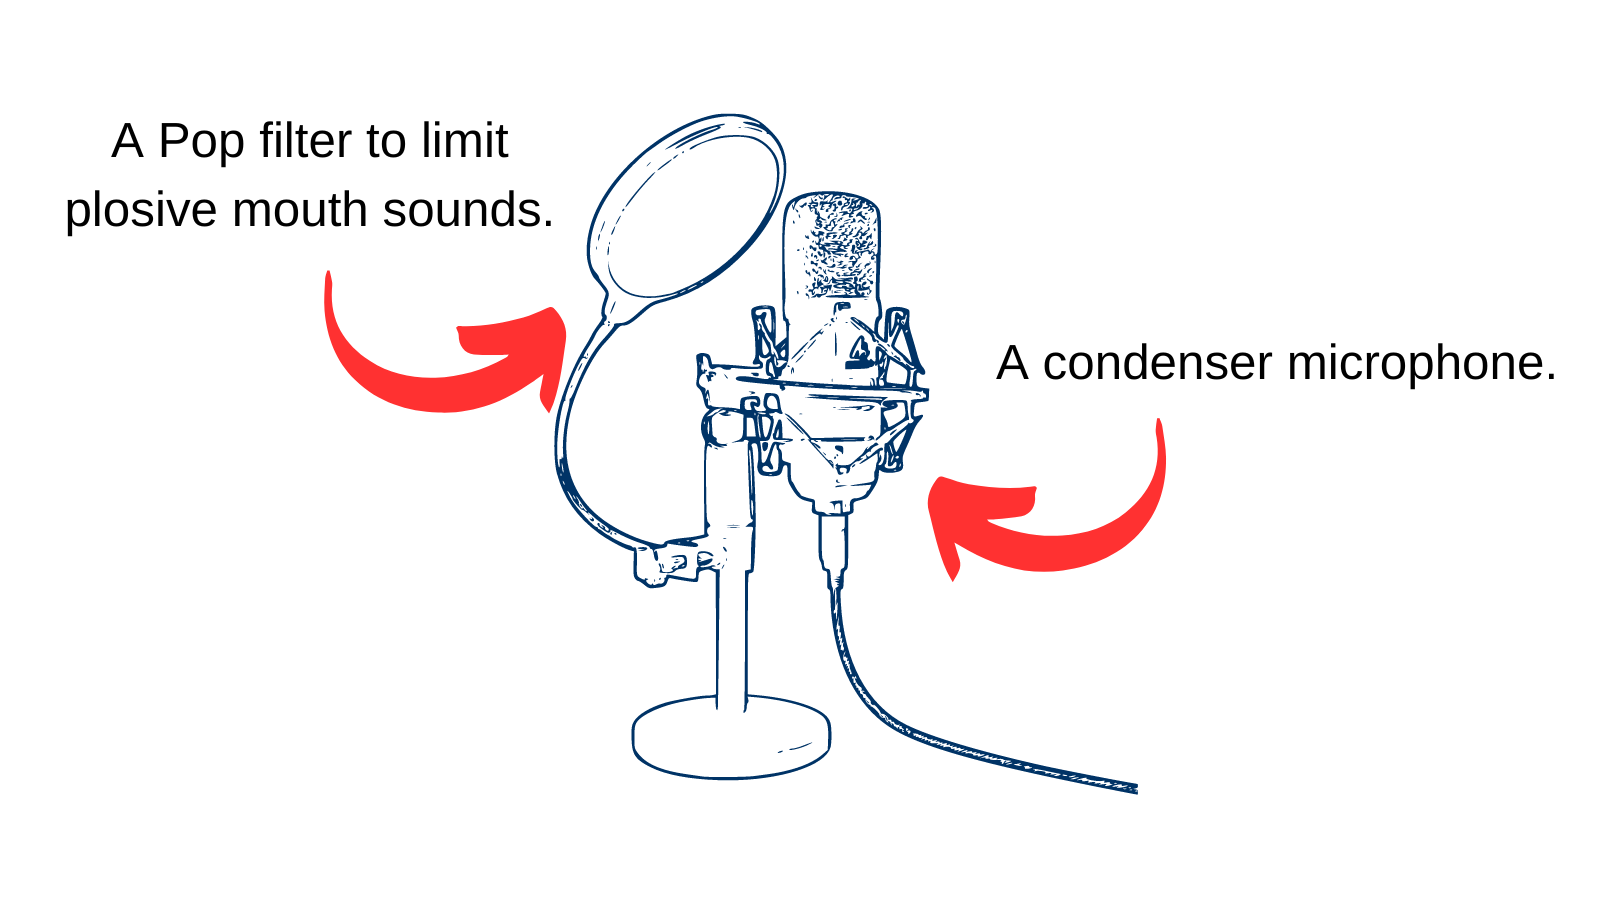
One of the key factors in capturing clear and crisp audio is using a quality microphone with a stand. Keeping the microphone on a stand mitigates unwanted sounds that the interviewer or interviewee may unintentionally create.
You’ll often see podcast set-ups using a pair of condenser microphones with pop filters on each. A pop filter is small screen that is used to reduce the frequency of plosives (hard consonant sounds such as “p”, “t”, and “b”). If interviewing another person, make sure to use two microphones instead of one to ensure optimal quality on both ends.
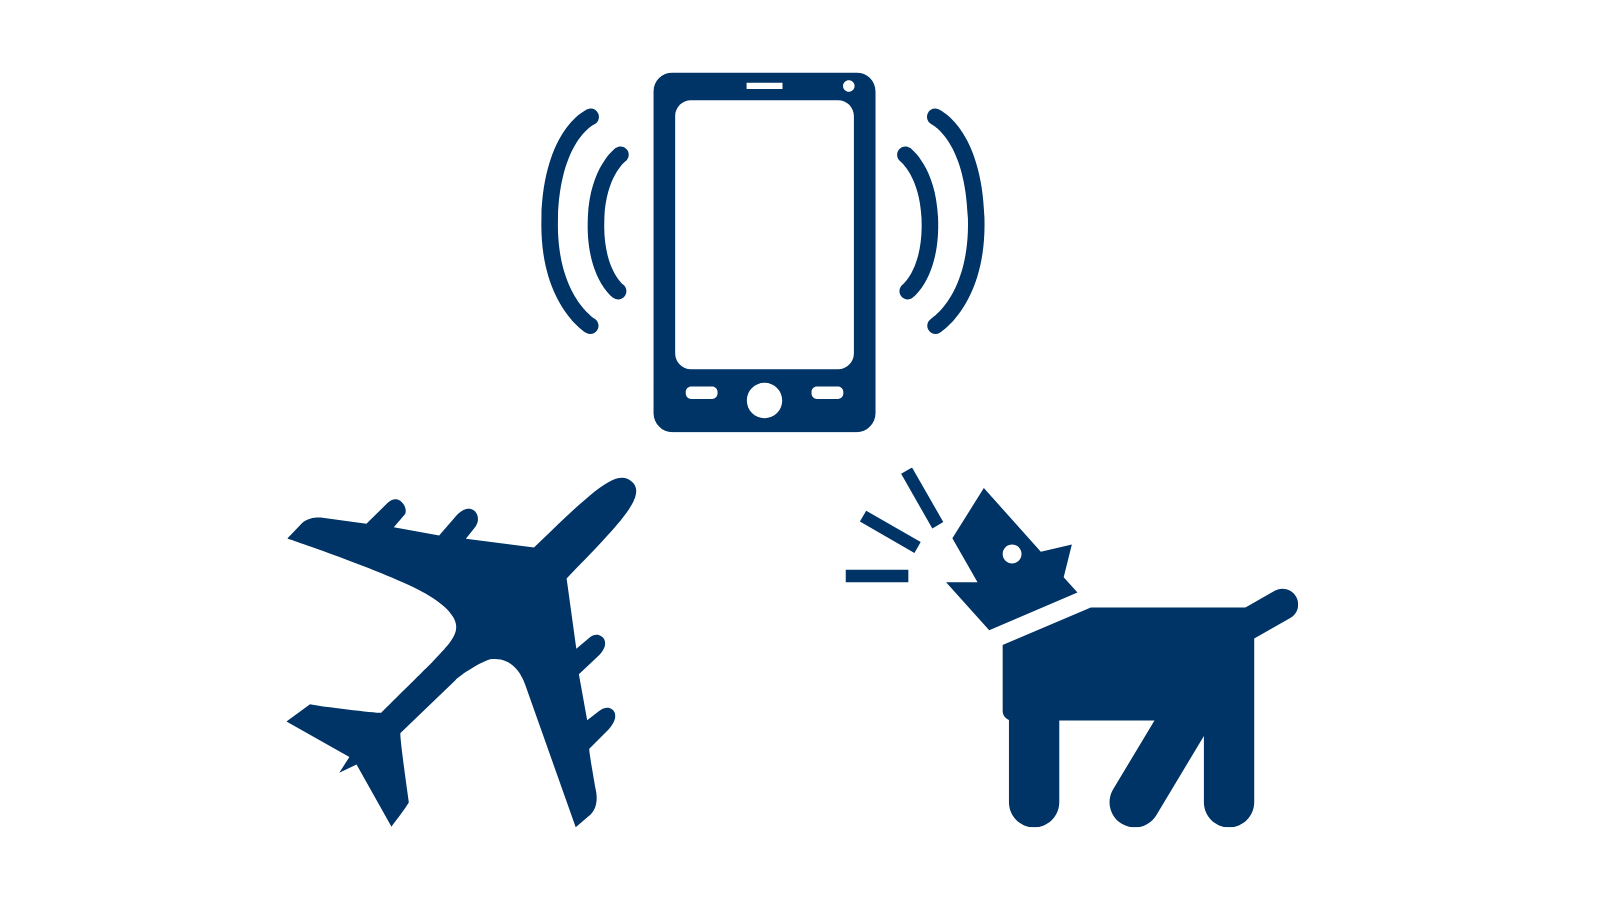
Background noise or ambient sound can be distracting and diminish the quality of your audio. To minimize unwanted noise, choose a quiet location for recording whenever possible. If you’re in a noisy environment, use tools like a windscreen or a foam cover on your microphone to reduce wind noise. Additionally, close windows and doors to minimize external disturbances. Make sure everyone’s cellphone is set to silent mode. Even vibrations can make unwanted noises.
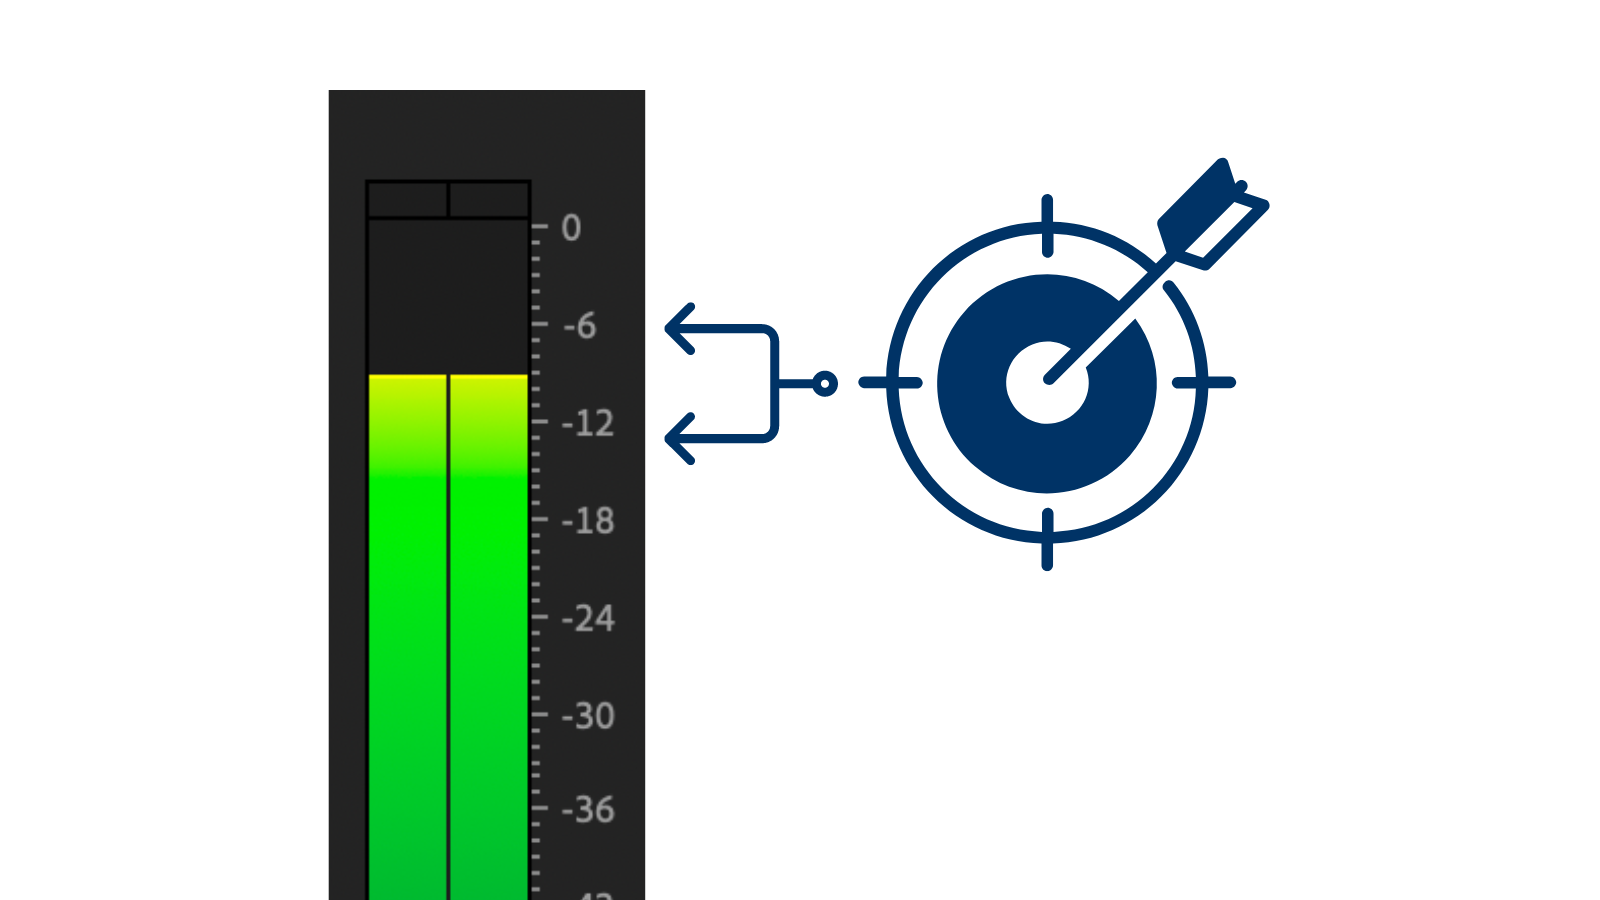
Keep an eye on your audio levels during recording to ensure they are not peaking or too low. Adjust the input gain on your recording device or microphone preamp to achieve a balanced level without distortion. Utilize headphones while recording to monitor the sound in real-time and make adjustments as necessary. Make sure to keep vocal levels between -12 dB and -6 dB to avoid peaking
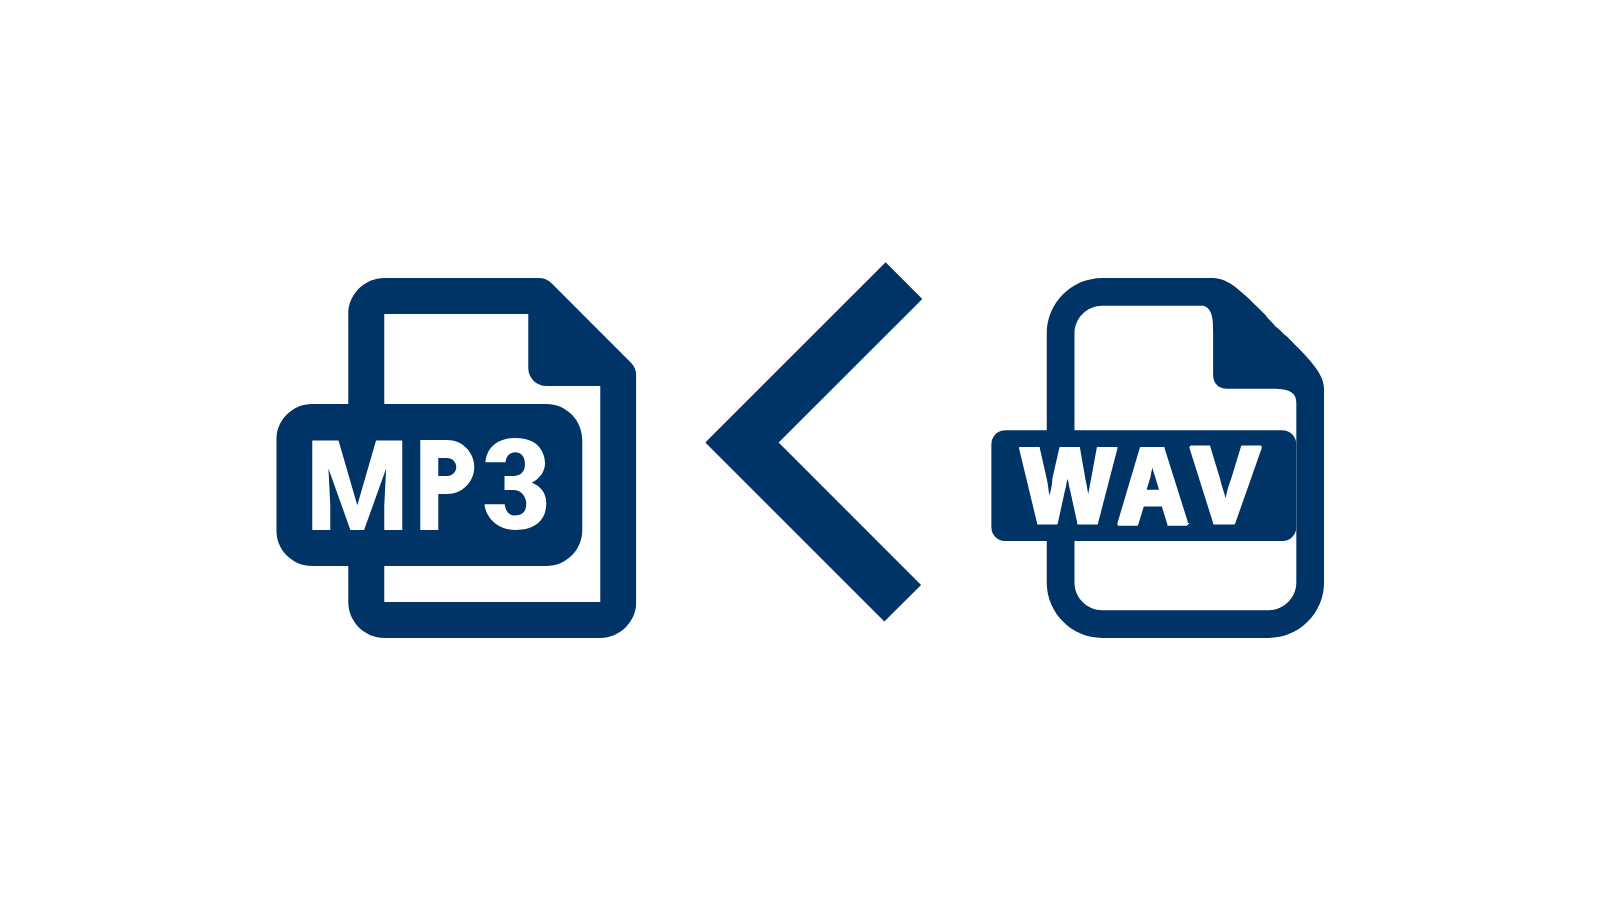
Although MP3 is the most common format, MP3 files have a lot more compression than WAV (Waveform Audio File Format) and AIFF (Audio Interchange File Format) files. For the highest-quality recording, it may be beneficial to record in WAV or AIFF and complete all post-production processes before exporting the final upload as an MP3.
Before starting a recording, perform a test to ensure all audio equipment is functioning properly. Check for any interference, pops, or hums that may affect the audio quality. Regularly monitor the audio during the recording session to identify any potential issues early on.
Having a script, researching your topic before recording, and practicing vocal clarity and confidence will also greatly improve your recording. Your audience will be listening to your voice, so it’s important that you make sure it sounds clear and resonant.
Remember, capturing clear and crisp audio is essential for creating professional and engaging content. By employing these techniques and being attentive to your recording environment, you can elevate the quality of your audio and deliver an immersive experience to your audience. Even if your audio doesn’t sound exactly how you want it once it’s been captured, you can use editing software to further enhance the clarity and quality. Adjust levels, remove background noise, and apply equalization if needed. Be mindful of not over-processing the audio, as it may lead to an unnatural sound.


A project of

in collaboration with